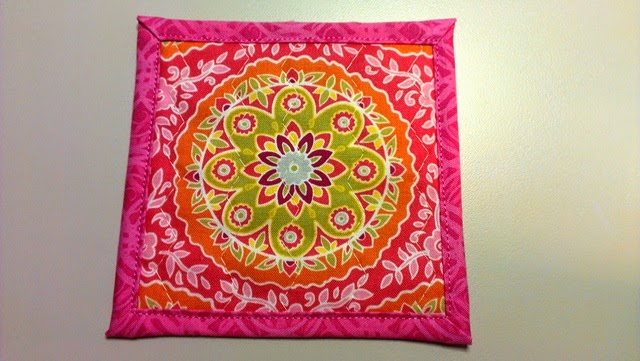
Made these last night from a post by Seaside Stitches - need to get some buttons on them. They were fun and quick.
UPDATE: Here are the blue ones all complete with buttons!
Saturday, September 13, 2014
Sunday, August 17, 2014
Sunflower Quilt
I made this quilt to raffle at a convention I'm attending in Seattle this coming week. Kansas is hosting the convention next year so I wanted to do something with a Kansas theme and what better than sunflowers!! The pattern is by Black Mountain Quilts - appropriately named Sunflowers. I did change up the pattern a bit. I appliqued the petals on by leaving a 1/4" border so when I washed it the petals would fray and give some dimension to the quilt. Not sure I like it - but that's the way it's going to be. :)
Here's a close up of a sunflower.
The cross-hatching was a chore having to turn the quilt so much. Ohhhh - for a long arm!!!
Here's a close up of a sunflower.
The cross-hatching was a chore having to turn the quilt so much. Ohhhh - for a long arm!!!
Monday, June 30, 2014
Tote Bag
I've had this material for a couple months and since I am off work this week decided to get my tote bag made. I love the color! This is a first putting in a pocket zipper. Need to work on that!!
It's a great size - not too big, but big enough to take shopping! I really like it!
It's a great size - not too big, but big enough to take shopping! I really like it!
Thursday, June 5, 2014
Coaster Tutorial
I have been making coasters from scraps and a friend asked for a tutorial. So here is my first tutorial.
 Cut your top fabric and batting 4 1/2" square. Cut your backing 6"
square (if you want another size - just make sure your backing is 1 1/2"
larger than your top). I sometimes sews scraps together for the tops -
this one I fussy cut.
Place your top fabric and batting together and "quilt" however you want. I usually use an elongated zig zag stitch. After it is quilted - trim off any excess batting to make your top 4 1/2" square again
With right sides facing center the top to the back matching the raw edges on one side - there should be 3/4" on each side of the back showing except at the opposite side of where you matched your raw edges.
Stitch the top to the back in a 1/4" seam starting and ending on the top.
Match the raw edges on the opposite side and center. Stitch with a 1/4" seam - the back will curl up.
Trim the backing where the seam is on each side.
Turn right side out and "center" the top - this gives you a self binding on two sides. Press.
To miter the sides - press each end over to form a triangle - the triangle should not be right up against the top - leave about 1/16" - 1/8" inch between turned in edge and top.
Press up each side and then turn and press again to the top. You should have a nice mitered corner. If not, you can readjust by re-pressing the first fold you did (the triangles).
Then top stitch all the way around the coaster close to the inside edge. I start on an unsewn side. With your needle down - pivot at the corners and continue all the way around - back stitch when you get back to where you started to secure your stitches.
Admire your new coaster and make a hundred zillion more!
Subscribe to:
Posts (Atom)


